Always wanted to make mead but thought it was too difficult or expensive? Let me show you how you can do this with very limited materials (most from the grocery store) and STILL make a great tasting mead!
Introduction
Mead is an old beverage. It’s made from fermenting honey. In ye olden times you didn’t even have commercial yeasts, or airlocks or even glass fermenters. They mixed up honey and water in a pot, and let it sit. The wild yeast living naturally in the honey started to chow down on the sugars and created… alcohol! Over the centuries, methods were improved, recipes written, forgotten and written again, and today we don’t make mead at home anymore.
To this I say… WHY THE HECK NOT?

We’ve had many commercial meads, and of course everyone who goes to Renaissance Festivals has tried what they pass off as mead, but… none compare to what we’ve made ourselves at home, using simple methods, and generally inexpensive materials and equipment.
We have a super awesome exclusive Club for our Audience. Want to learn how to become a VIP?
Yes, you can make your own mead at home. Let’s show you how.
Things You Will Need
Links Disclaimer: We are Amazon Affiliates and do receive a small commission if you use our links to make a purchase. It helps us build our channel, and costs you nothing extra. Thanks for your patronage!
A Glass Gallon Fermenter (get one with apple juice in it at many grocery stores for about $10 and you get free juice! Bonus!). We’re talking a US Gallon here so 3.785 liters. Short of that, you can get one here: https://amzn.to/3BW6Iyk, about $15.
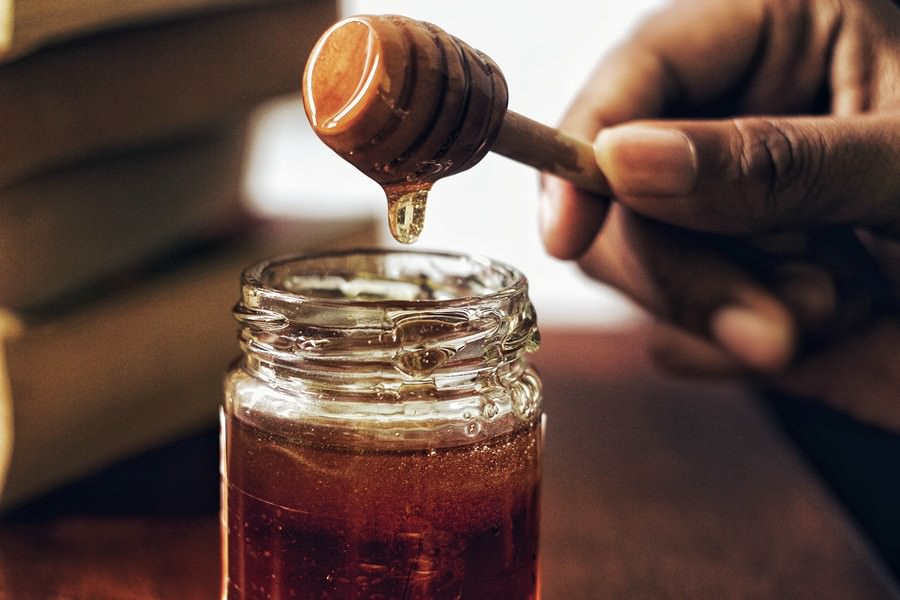
Honey! You need about 3 pounds or 1.36 kg. You can use any honey, but remember, not all honey is the same. Grocery store honey might be cut with corn syrup or sugars, but some are pretty good too. Try it if you’re unable to get honey any other way, it’ll make mead anyway. This simply means get the best honey you can. You do not need to spend a fortune to do it though. Here’s the one we used in a 6 lb size (enough for two gallons!) https://amzn.to/3xgMUlr about $40.
A Cup of Black Tea. Yes, Black Tea, not Earl Grey, not Green Tea, not Herbal Tea, not Chamomile Tea not any other type of tea, just plain old black tea. One cup (10 ounces give or take) steeped for 5-10 minutes. This is like… $0.50.
Orange Peel, or lemon peel. I prefer orange in this recipe. A nice thick slice of orange peel with no pith, maybe two. If you have or care to make dried orange peel, I much prefer that to fresh in this mead as well. Cost: $1.00?
Fleischmann’s Active Dry Yeast. Yes, trust me. As much as making mead is simple, there’s calculations and science behind these choices and changing the yeast will alter the final product! Just use it, even just this once. No, there’s nothing harmful, no it won’t taste any more like bread than any other yeast would. It’s all still yeast in the end. Get it here if you can’t find it locally: https://amzn.to/3xgNvUd $5 for 3 packs (enough for 3 gallons!)
Raisins. Yes, raisins. Just chop them and put them in. They add flavor, sweetness and an extra little oomph that you will miss if you leave them out. But, hey, it’s your mead, leave them out if you really want to. But seriously, don’t leave them out, just do it. Two ounces of raisins, or 56 grams, get them here if you want: https://amzn.to/3l5KS5r (enough for 6 gallons there) $9 for the whole batch and then some.
Water. Just make sure it’s not chlorinated. If your tap water is chlorinated, leave it in a pitcher overnight and it’s usable. Use filtered or bottled water if you like as well. Try not to use distilled water as it’s had most of it’s nutrients removed.
Some kind of sanitizer. Star San, boiling, all good. You should mix some up in a tub and dunk everything in there carefully. Here’s a link to Star San: https://amzn.to/3iZdMl8 This amount will make many gallons of sanitizer liquid. You can also use Baby Bottle Sanitizer. Cost to sanitize $9 but it will last a while.
Stopper and Airlock. Very important. If you just seal up the bottle, it will explode. Trust me! Here’s a set of three https://amzn.to/3iU1s5y Just $8 and they last years.
That’s it. To get started, that is all you need. Total investment: $87.50. However, you have honey for two batches, a fermenter that you can use for years. Multiple airlocks, lots of raisins, more yeast, and Star San to use for other batches. Pretty easy to get into really.
Assembly

This is important to do in the right order. I mean, it’s not crucial as in mess it up and it’s ruined, but… it does make life easier for you and your yeast to do it this way.
Measure out the honey. Get it into the fermenter. 1.36 kg or 3 lbs of honey is what you want. DO NOT be tempted to use more. Trust me here. Just don’t. You could stall your fermentation and end up with low alcohol and a sickly sweet brew if it ferments at all.
Add the tea. You did let it steep for 5-10 minutes right? Not the leaves or bag, just the tea please.
Add the orange zest and raisins.
Add water to about halfway up the fermenter.
Mixing
Mix it up good. Use the cap from the bottle or a solid stopper to shake the bejeezus out of the fermenter and must. It’s critical to mix this fully. FULLY!
Mix until it’s totally blended, and mix for two more minutes to be sure. I’m not even kidding.
Add more water, but leave 4-5 inches of space between the opening of the fermenter and the must since… fermentation makes foam and you don’t want it to spill over.
Mix again.
Add 1 tsp or 1 packet of your yeast.
Mix again.
Optional Steps
I call this optional, but it’s actually really important. For your first mead, assuming you did EXACTLY what I did, you should be fine. This time. Having a hydrometer can help you assess where your fermentation is at. From beginning to end, you can know with certainty when the yeast have done their job or, if things went askew. Get a hydrometer and cylinder here: https://amzn.to/3C4tAf8 Cost: $15
We have a video on How to Read a Hydrometer!
Finish It!
Okay, stick the stopper in, put in the airlock. Oh, fill that airlock to the “Full” line with sanitizer fluid or cheap liquor (vodka, crappy scotch, your choice… no, not all scotch is crappy, just use the crappy one).
What Now?
Let it sit. A few weeks most likely. Try to keep it in the 70-80F range, that’s 21-27 Celsius. Much cooler and it will slow down, possibly stall, much warmer and it will be more active, but could produce off flavors.
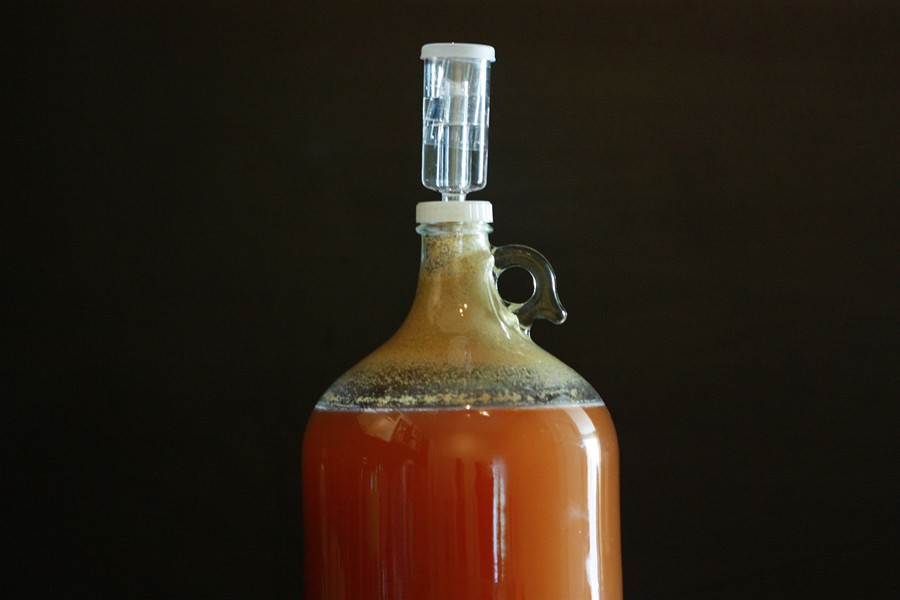
If you’re using a hydrometer, you can check for doneness, if not, let it sit until it clears.
Conclusion
Congratulations! You made mead! Is it simple? YES. Is it uncomplicated? YES.
Will it taste good? Well, most likely, YES! This is one of my favorite all time meads!
We’ve put the videos all about this mead at the bottom of this article for you to see it made. There’s more detail there, and we finish it, bottle it and even do a tasting.
As always, if you have questions, we have answers. We are here to help you brew!
So, will you try to make mead after reading this?


