We know there’s a lot of hype about needing gear for brewing but, in truth you don’t need as much as you might think to get started. We’ve broken it down in to 3 categories to make it simple: Must Have, Good to Have, and Nice to Have. While you can brew with just the “Must Haves”, over time you might enjoy having some of the other tools at your disposal.
(We are Amazon Affiliates and as such do make a small commission if you use our links at no additional cost to you, but by using these links you help support our ability to continue bringing you more videos!)
A Note about our Links! We do not promote items we have not personally used! This is important as there are a lot of items out there, not all are super high quality. So, we only give links to things we personally use or have direct knowledge of their quality!

The “MUST HAVES”
This group is the basics, things that without them you pretty much cannot make a brew effectively.
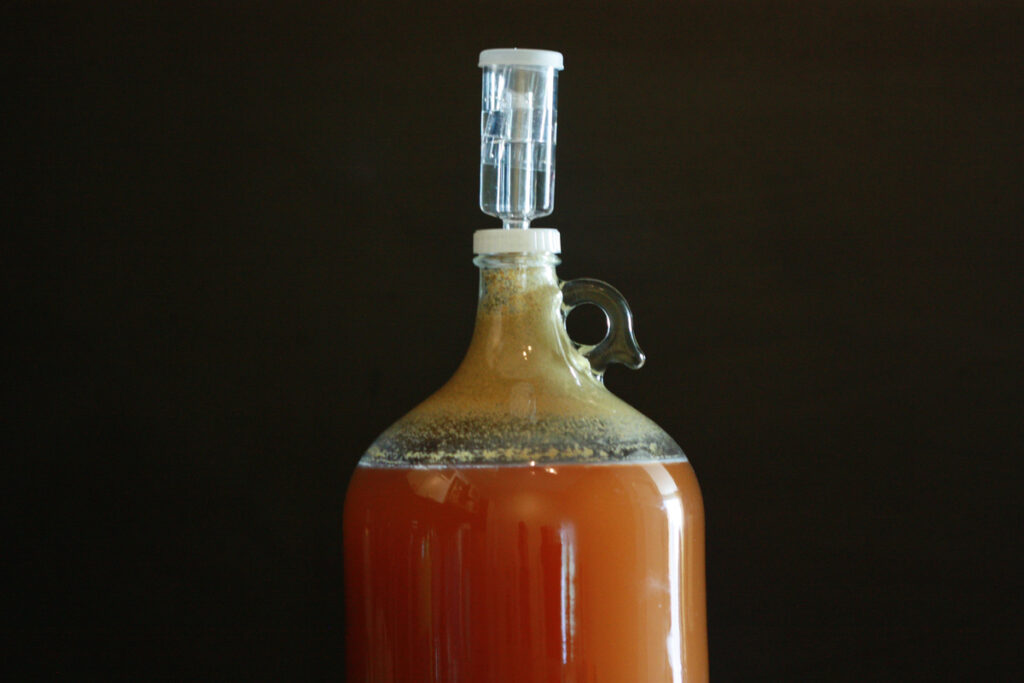
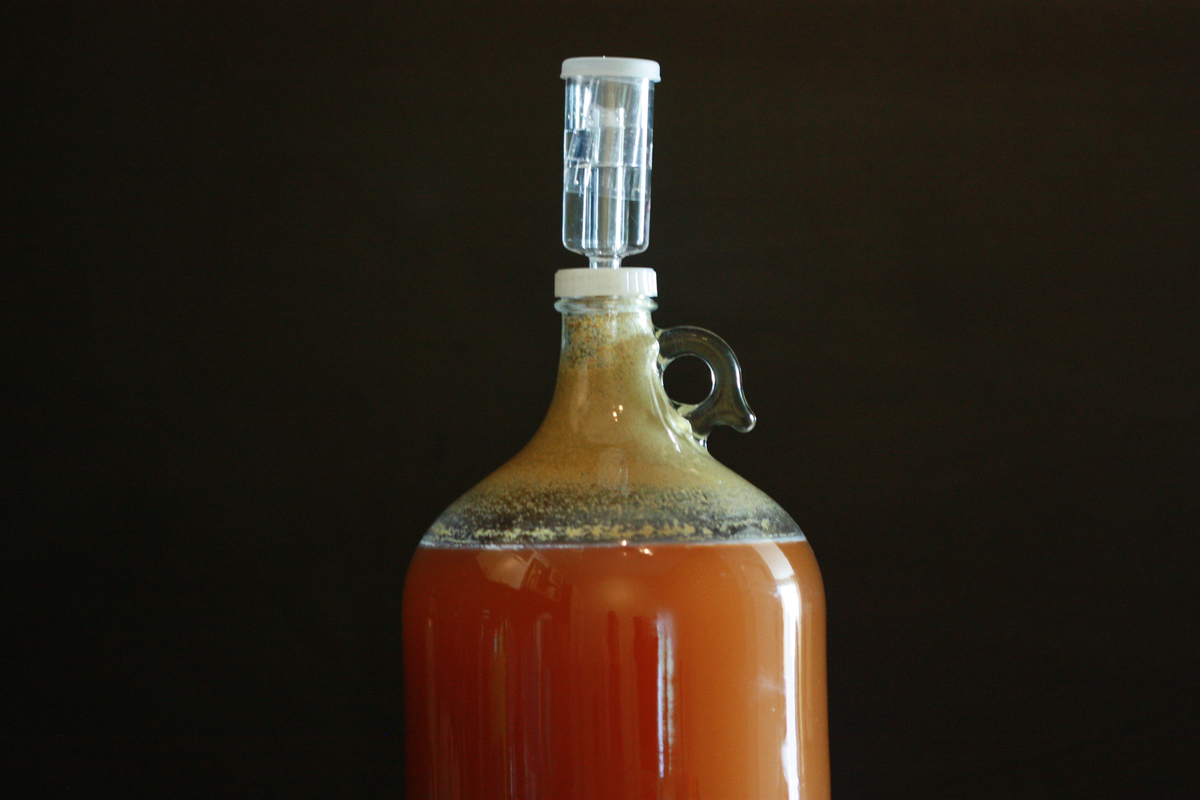
#1 Fermenter. We prefer glass, and you can use a wide mouth or a narrow mouth. You can get these with free juice at some grocery stores like Publix, or you can use our links to purchase them:
Narrow Mouth 1 Gallon with stopper and airlock
Wide Mouth 1 Gallon with stopper and airlock
#2 Airlock. Yes, you really need an airlock. You can make one, you can use a piece of tubing going into a separate container, or you can use the plastic ones like we do. They all will do essentially the same thing. Let the gasses out, prevent explosions, and keep bugs from entering. I like the S-type, but the three piece airlocks do the same job.
6-Bubble Plastic Airlock For Beer and Wine Making – Pack of 3
3-Piece Airlock, 6.5 Drilled Rubber Stopper, and 38mm Black Plastic Lid – Pack of 4
#3 Siphon. You have to have some way to transfer the liquid from one vessel to another. This can be a simple piece of tubing, or our preferred method, the auto siphon. I put this in “must have” because you really do need this. Pouring is not recommended!
This is the Auto siphon we use

#4 Sanitizer. While it’s true our ancestors did little to no sanitizing and they survived, today, we like to be a little more clean. Also, less infections means better tasting homebrews! We prefer Star San as our sanitizer of choice, and a bottle lasts a LONG time. But, other methods are out there, even as basic as boiling everything you need to use. If Star San is not available where you live, baby bottle sanitizer works too.
#5 Bottles. While you can technically drink right from the fermenter, it’s best to have bottles to store your brews in. If you are 100% sure it’s finished fermenting and NOT carbonated, you can use mason jars, but we prefer bottles made for wine or beer. You can repurpose wine, liquor beer bottles, or purchase bottles just for this purpose.
The “Good to HAVES”
These items make brewing either easier or more efficient or give more information about your brew.
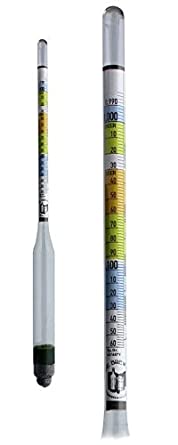
#1 Hydrometer and Graduated Cylinder. A hydrometer isn’t just for finding out how much alcohol you made. While that’s nice, it’s more important to know if your fermentation is finished, stalled, or still active.
Hydrometer Kit With Glass Cylinder, Hardcase, Cloth and Brush
#2 Scale. We find using weight instead of volume to be more practical and accurate. For this, you need a decent scale. We use two. One goes up to 50 lbs, but is a bit less precise, the other 17 lbs but it’s more precise. Depends on what we’re doing which we use.
#3 Bottling Wand. The bottling wand makes bottling less messy. It’s just a plastic tube with a stem valve at the end that lets liquid flow or stop. Simple in design, but really useful when bottling.
#4 Yeast Nutrient. In the past, we’ve said you don’t need nutrients. Well, it’s good to have them. Long story, but suffice to say your brew will be better with them than without them. We prefer to keep things simple and as close to nature as possible so we use Fermaid-O. Yeast hulls work in a pinch, but lack essential nutrients for yeast, and that also goes for boiled yeast. Just 2 grams of Fermaid-O in a gallon does wonders.
The “Nice to Haves”
These are items that make your brewing life a little easier, but you can certainly do without them… if you really had to.
#1 Second Fermenter. Of course you can wash out your fermenter and reuse it for secondary or conditioning phase, so long as you have a pitcher or other vessel to use as an intermediary, but… wouldn’t it be nice to just rack right into another fermenter? We have links in the “Must Have” section for these!
#2 The Pitcher with Raised Numbers. If you’re watched more than 2 of our videos, you know what this is. It’s a gallon pitcher with raised markings for metric and US measurements. It’s got a great spout for pouring and it’s transparent so you can easily measure how much you have in it. I wanted to put this in “Must Haves”, but… to be fair, it’s just really nice to have.
Brian and Derica’s Favorite Pitcher
#3 Nut Milk Bag. Having a bag to keep fruit and other ingredients contained in a brew is nice sometimes. We find brew bags to be either too large, or too loose a weave, so we use bags made for making nut milks. They’re strong, food grade, and just the right size for one gallon fermenters.

Of course there are many other things you can get for brewing that I didn’t include on this list, like bottle brushes, glass weights, various spoons and stirring utensils, and the list goes on and on. We simply wanted to get you started and offer some simple suggestions to get you brewing!
Looking for more brewing gear? Check out our Shop!
As always, thanks for watching and have a great day!

